
Setting Up Your Dealership
This guide walks through dealership profile setup—the first step in the Dealer Guide workflow after quickstart.In this guide
- Dealer Info: name, contact, and address
- Website branding basics (logo, colors, hero, SEO description)
- Google Business Profile alignment
- Optional Pro settings (CARFAX, chatbot, Distribution)
Free Kickstart — up to 10 listings, subdomain, SEO pages, customization, payment calculator on VDPs.AutoFire Pro ($99.99/mo) — up to 50 listings, FireCompare™, leads, test drives, CARFAX, custom domain, VIN decoder, Distribution feeds, team roles, AI chatbot, priority support.
Accessing Dealer Settings
After logging in to your AutoFire account, navigate to the Dashboard and look for the “Dealer Info” section in the sidebar. This is where you’ll manage your dealership’s basic information.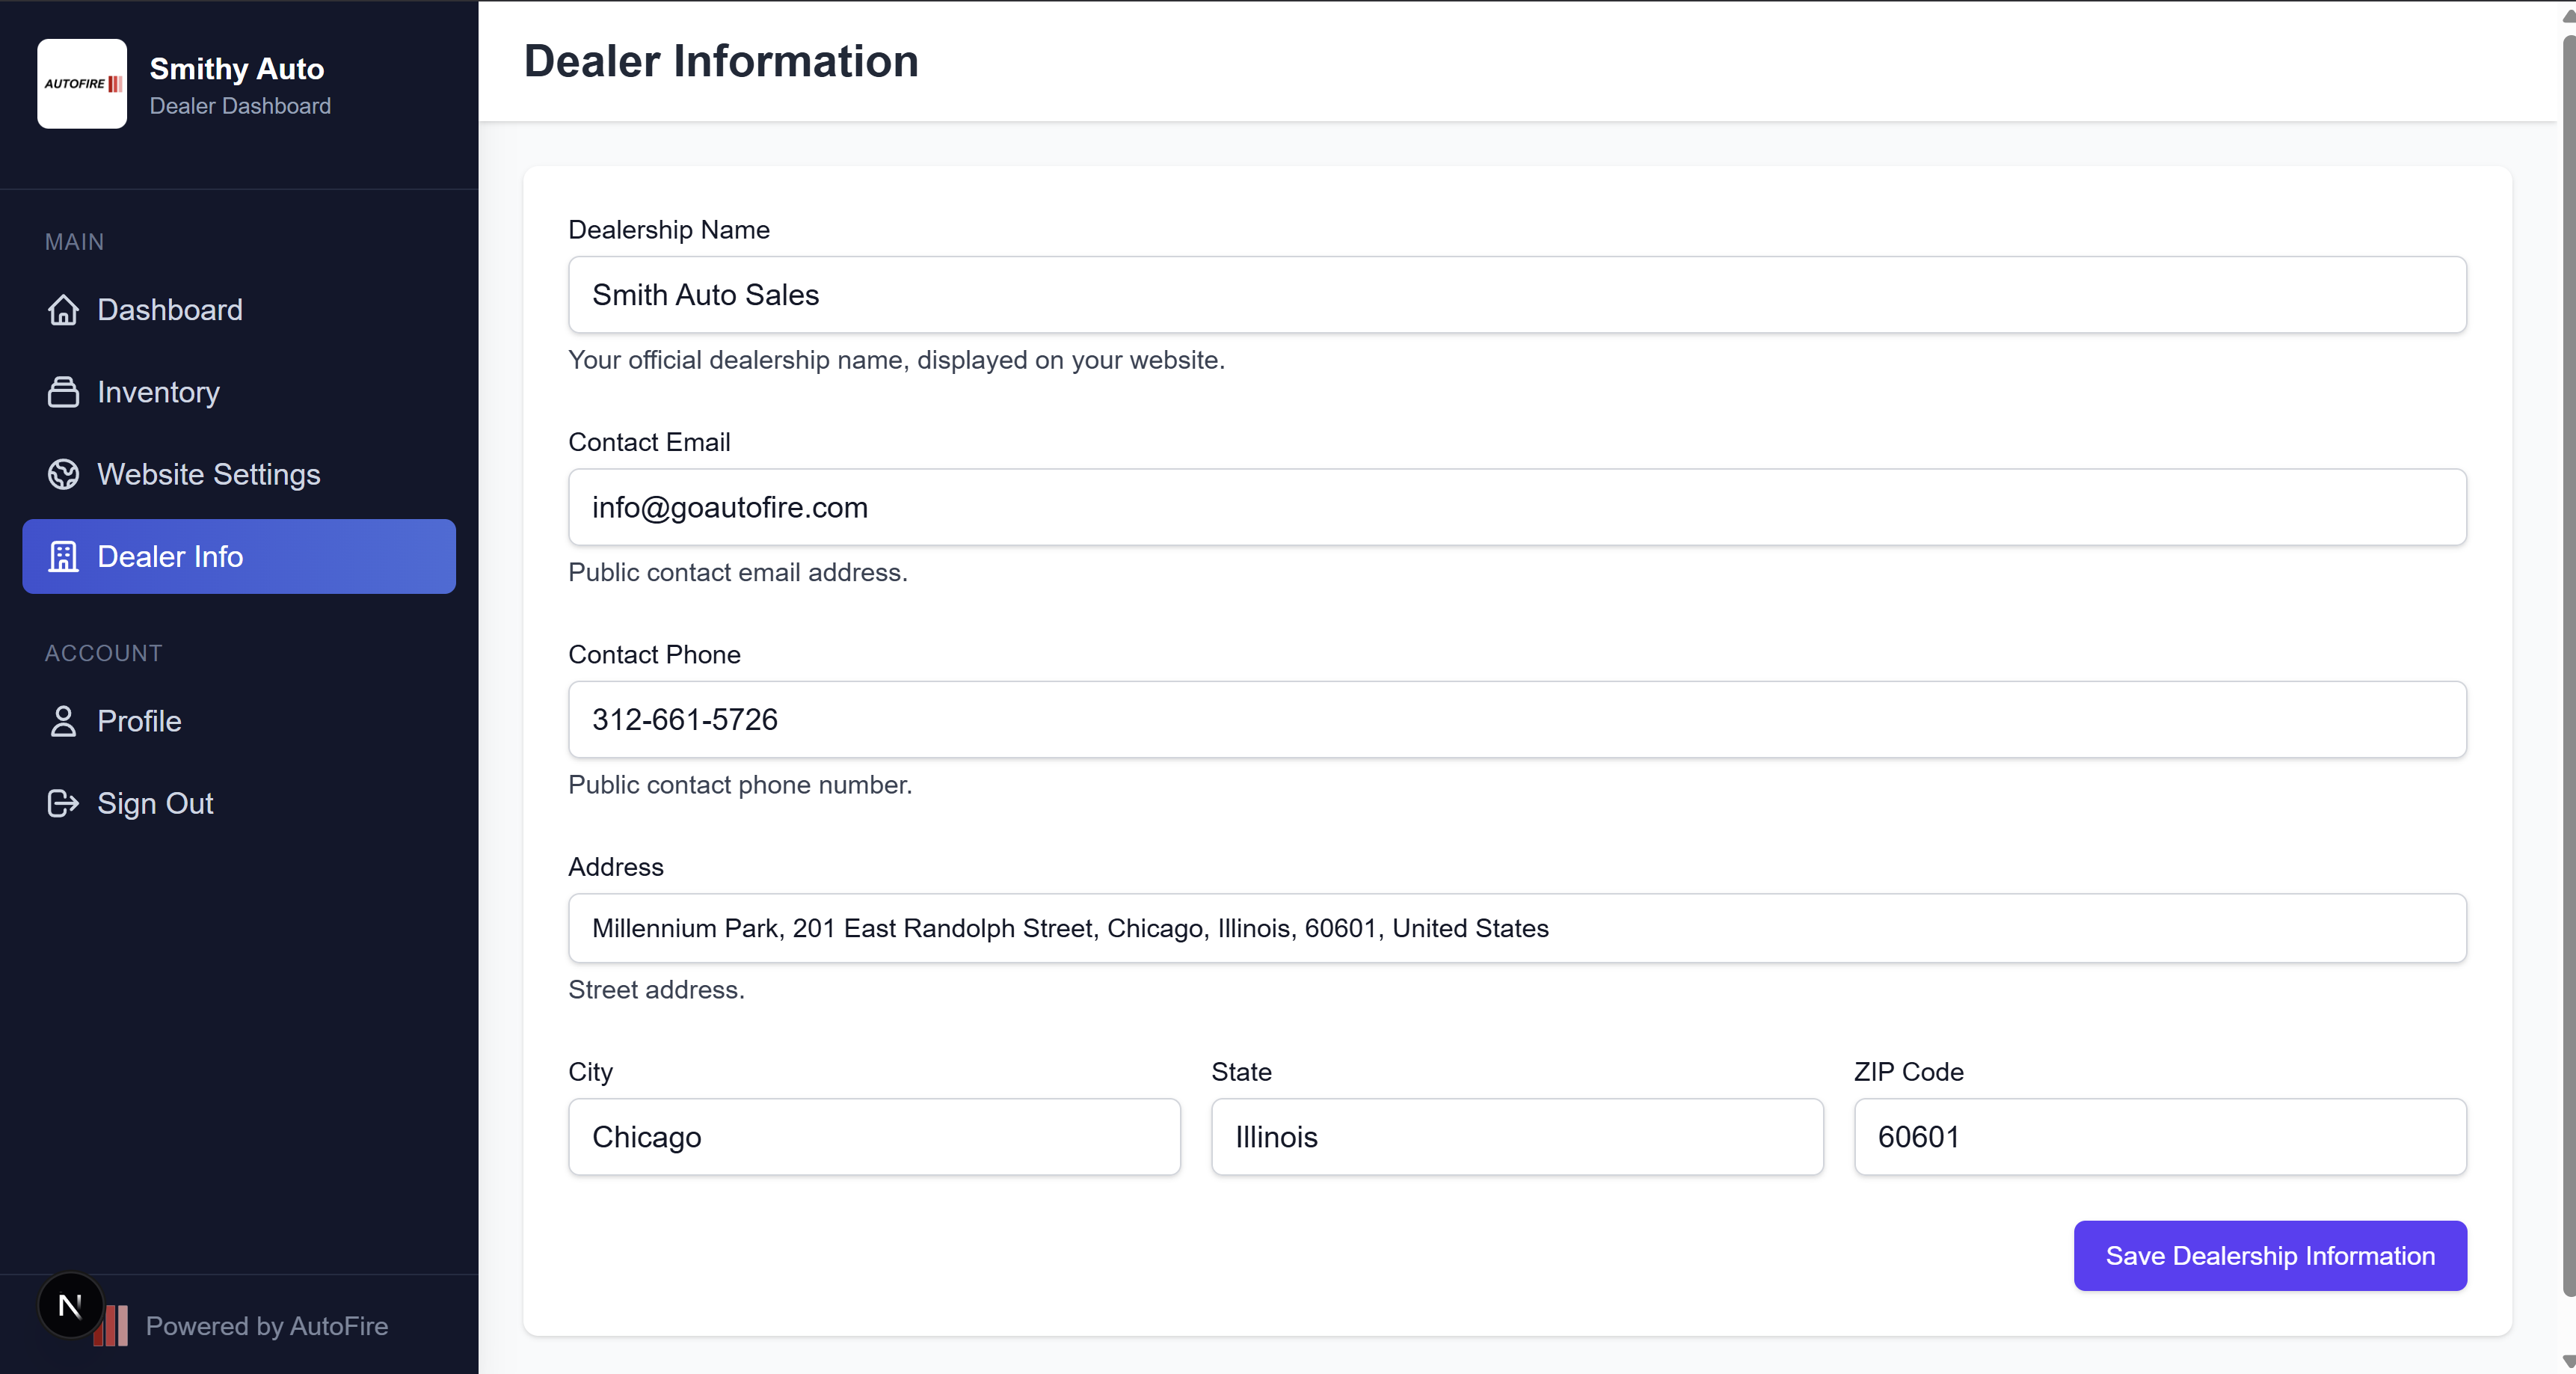
Basic Information
Dealership Name
Enter your dealership’s official business name. This will be displayed prominently on your website.
Contact Information
Enter your dealership’s primary contact email and phone number. These will be displayed on your website and used for customer inquiries.
Address Information
Enter your dealership’s physical address, including city, state, and ZIP code. This information is used for the map integration on your website.
The address autocomplete feature helps ensure your address is formatted correctly for mapping services. This address will be used in schema markup for local SEO.
Website Customization
Visual elements like your logo, colors, and hero image are managed in the Website Settings section.Choose Colors
Select your primary and secondary colors to match your branding.
Your primary color will be used for navigation elements, buttons, and key visual elements.
Google My Business Integration
For maximum visibility in local searches and Google Maps, connect your AutoFire website with Google My Business.When your GMB listing is properly connected to your AutoFire website, your vehicle inventory can benefit from enhanced visibility in Google searches.
Pro settings (optional)
If you are on AutoFire Pro, configure these from the dashboard when you are ready:CARFAX
In Dealer Info, enter your CARFAX dealer partner ID and enable CARFAX. See the CARFAX guide for prerequisites and troubleshooting.
Chatbot
In Website Settings → Chatbot, enable the public site assistant. Each AI reply consumes 0.1 Fuel credit; rate limits apply per visitor and session.
Distribution
Open Distribution to enable feed integrations—see the Distribution guide.
Saving Your Changes
For each section, click the “Save Changes” button at the bottom of the form. Your changes will be applied to your dealer website immediately.Next steps
Add inventory
Inventory management — publish vehicles that power your public site.
Import existing stock (optional)
Inventory imports — CSV or 1-click migration instead of manual entry.
Preview your site
Your dealer website — structure, SEO, and sharing.
Inventory
Add and manage vehicle listings
Website
Preview and share your live site
Customization
Deeper branding and SEO copy
Plans & billing
Upgrade to Pro for leads, domains, and feeds